Light Painting
We were given the task to experiment 'Drawing with light' Which means taking a picture of one thing and then slowing down the shutter speed so it can capture the bright neon (in our case) lights that we used. The reason for taking the picture of the person first is so that the light does not look blurred when you draw it. Here are some examples of us experimenting with light drawing:
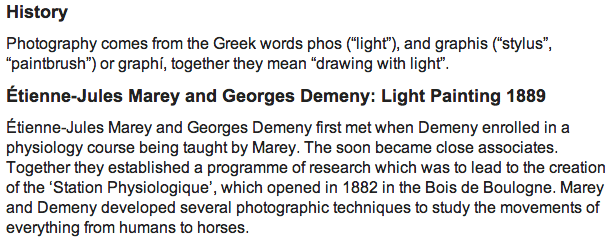


BEFORE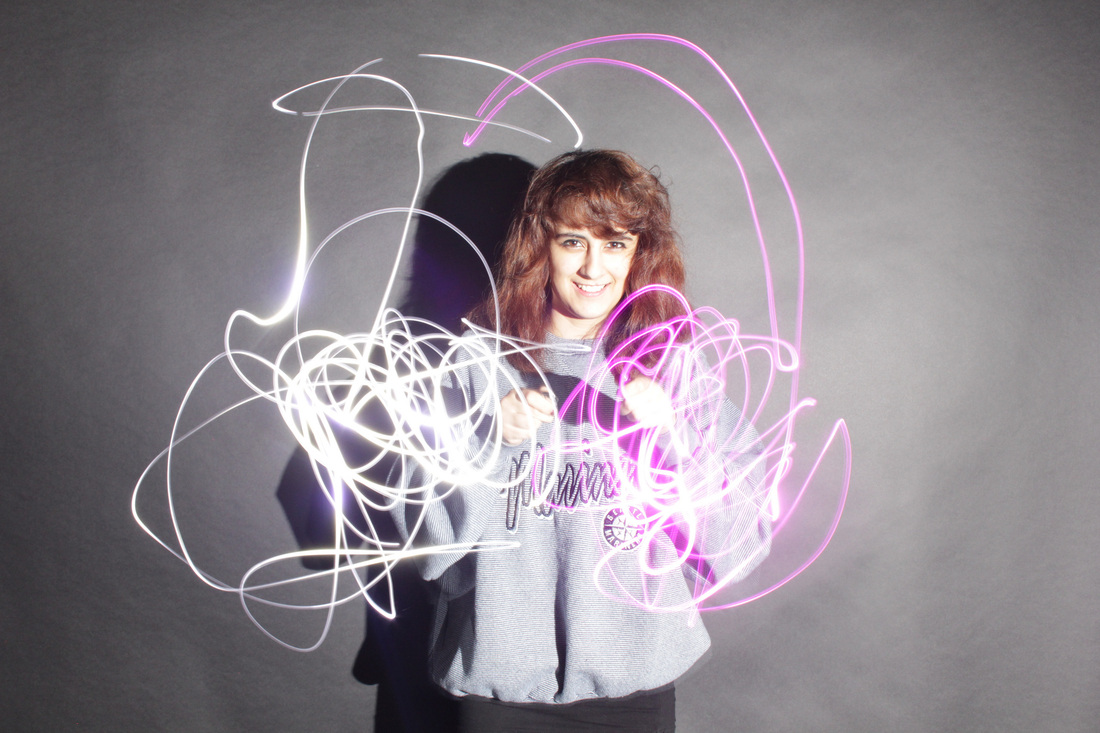
|
AFTER
|
My Editing ProcessI decided to use i photo to improve one of the light painting photographs I took in the lesson:
I have analysed the histogram to check the balance of levels for shadows mid-tones and highlights. I have made the background of the picture darker to make the laser light sharper so that the light would look much brighter in contrast to the dark background. ComparisonOverall I think the 'AFTER' image is much better because you can see the light much more clearly because I turned the contrast down and the photo looks clearer as the exposures not as high. This is also because the background is darker making the light look brighter.
|

|
